What to Know Before Your First Lift Install
You've done the research. You know the lift height you want, you have a brand in mind, and you're ready to pull the trigger. Before you do — there are a handful of things that experienced builders wish someone had told them before their first lift install. This guide covers what to expect, what to ask, and what to watch out for so your first lift goes smoothly and sets your build up correctly from the start.
The Kit Is Only Part of the Cost
The most common first-lift surprise is the gap between what a lift kit costs and what a lift install actually costs. A quality mid-range suspension lift for a Wrangler or a Tacoma might run $800–$1,500 for the kit itself. The total installed cost — including labor, alignment, and any additional components the install requires — can be significantly higher.
Here's what the kit price often doesn't include:
Alignment — Every lift requires a professional alignment after install. This is non-negotiable and runs $150–$300 depending on your vehicle and your shop. Budget for it upfront.
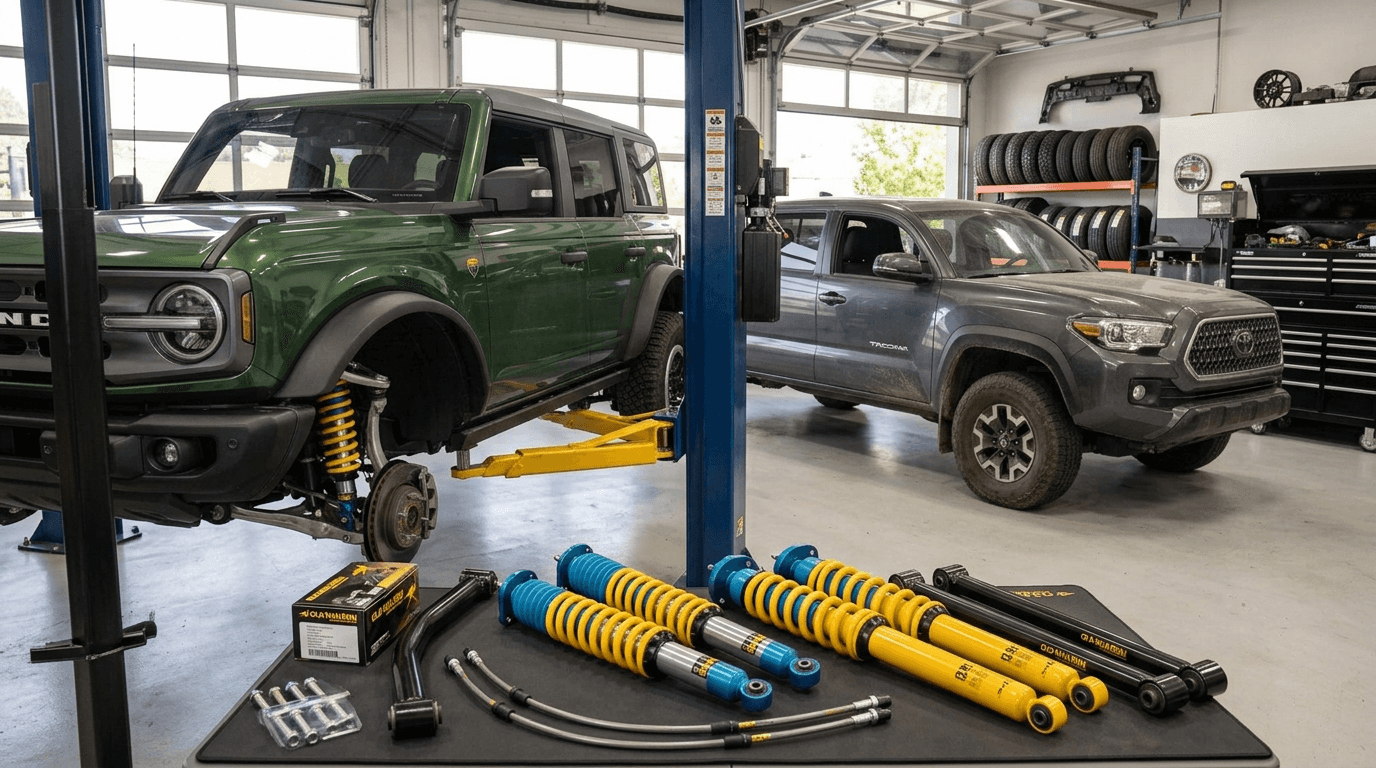
Extended brake lines — On many vehicles, lifts over 3 inches require extended brake lines to accommodate the increased suspension travel. These are often sold separately from the kit itself.
Track bar relocation — On solid axle vehicles like the Wrangler, a lift changes the track bar angle and often requires a track bar drop bracket or an adjustable track bar to correct geometry. Some kits include this hardware — many don't.
Upper control arms — On IFS vehicles like the Tacoma and F-150, meaningful lift heights often require aftermarket UCAs to maintain correct CV axle geometry. Again — sometimes included, sometimes not.
Caster correction — On certain platforms, correcting caster angle after a lift requires additional hardware beyond what a basic kit provides. Your installer should identify this during the build consultation.
Ask your installer for a complete parts list and total cost estimate before you commit — not just the kit price.
Lift Height and Tire Size Go Together
Most people lift to run bigger tires. The relationship between lift height and tire fitment is more nuanced than it looks on paper.
A 2.5" lift doesn't automatically mean you can run 35s. Tire fitment depends on lift height, wheel offset, fender clearance, and whether your vehicle has factory or aftermarket fender flares. The combination of these factors — not lift height alone — determines what tire size clears your wheel wells cleanly at full lock and full droop.
Before selecting a lift height, know the tire size you want to run and confirm with your installer that the combination works on your specific vehicle. The tire and wheel conversation belongs at the beginning of the build process, not after the lift is already installed.
Your Alignment Specs Matter — Know Them
After a lift install, your alignment needs to be set to specs appropriate for your new ride height — not returned to factory specs, which no longer apply. This is a distinction that matters and one that not every alignment shop handles correctly.
A general alignment shop that doesn't regularly work on lifted vehicles may not have the experience or the adjustment range to set your alignment correctly after a significant lift. Your lift installer should perform or refer your alignment to a shop that understands lifted vehicle geometry. At OK4WD our installs include an alignment recommendation and our skilled technicians understand what a properly aligned lifted vehicle actually looks like.
Correct alignment after a lift protects your tires, your suspension components, and your handling. An incorrectly aligned lifted vehicle wears tires unevenly and handles poorly — often in ways that feel subtle at first and get significantly worse over time.
The Break-In Period Is Real
A new lift kit — particularly the shocks — goes through a break-in period during which the components settle and the ride characteristics normalize. Here's what to expect:
The first 500 miles — Your new shocks are breaking in. The ride may feel stiffer, bouncier, or different from what you expected. This is normal and improves as the components settle.
Retorque after 500 miles — This is the most commonly skipped step in a lift install and one of the most important. Hardware — particularly on the suspension — can loosen slightly as components settle under load. A retorque of all lift-related hardware at 500 miles catches this before it becomes a problem. Ask your installer whether they perform a 500-mile retorque and build it into your plan.
Alignment check at 500 miles — Some shops recommend a follow-up alignment check after the initial break-in period to confirm everything has settled correctly. Not always necessary, but worth asking about.
What Your Installer Should Tell You — and What to Ask If They Don't
A quality lift install isn't just bolting on components and handing you the keys. Here's what a thorough installer covers:
Pre-install inspection — Before installing a lift, a good installer inspects the factory components they'll be working with — control arms, ball joints, wheel bearings, bushings. Installing a quality lift on worn factory components is a waste of money. If your factory components are marginal, you need to know before the install, not after.
Parts confirmation — Your installer should walk you through every component in the kit, confirm that everything is present and correct for your specific vehicle configuration, and identify any additional parts the install requires before work begins.
Geometry correction plan — For any lift over 2–2.5 inches, your installer should be able to explain what geometry corrections the install includes and why. If they can't explain caster correction, track bar geometry, and CV axle angle management in plain language, find an installer who can.
Post-install walkthrough — After the install your installer should walk you through what was done, what to watch for during break-in, and when to come back for the retorque. A shop that hands you the keys without this conversation isn't giving you the full service.
Lifted Doesn't Mean Finished
A lift kit is the foundation of an off-road build — not the completion of one. Here's what typically follows a first lift install:
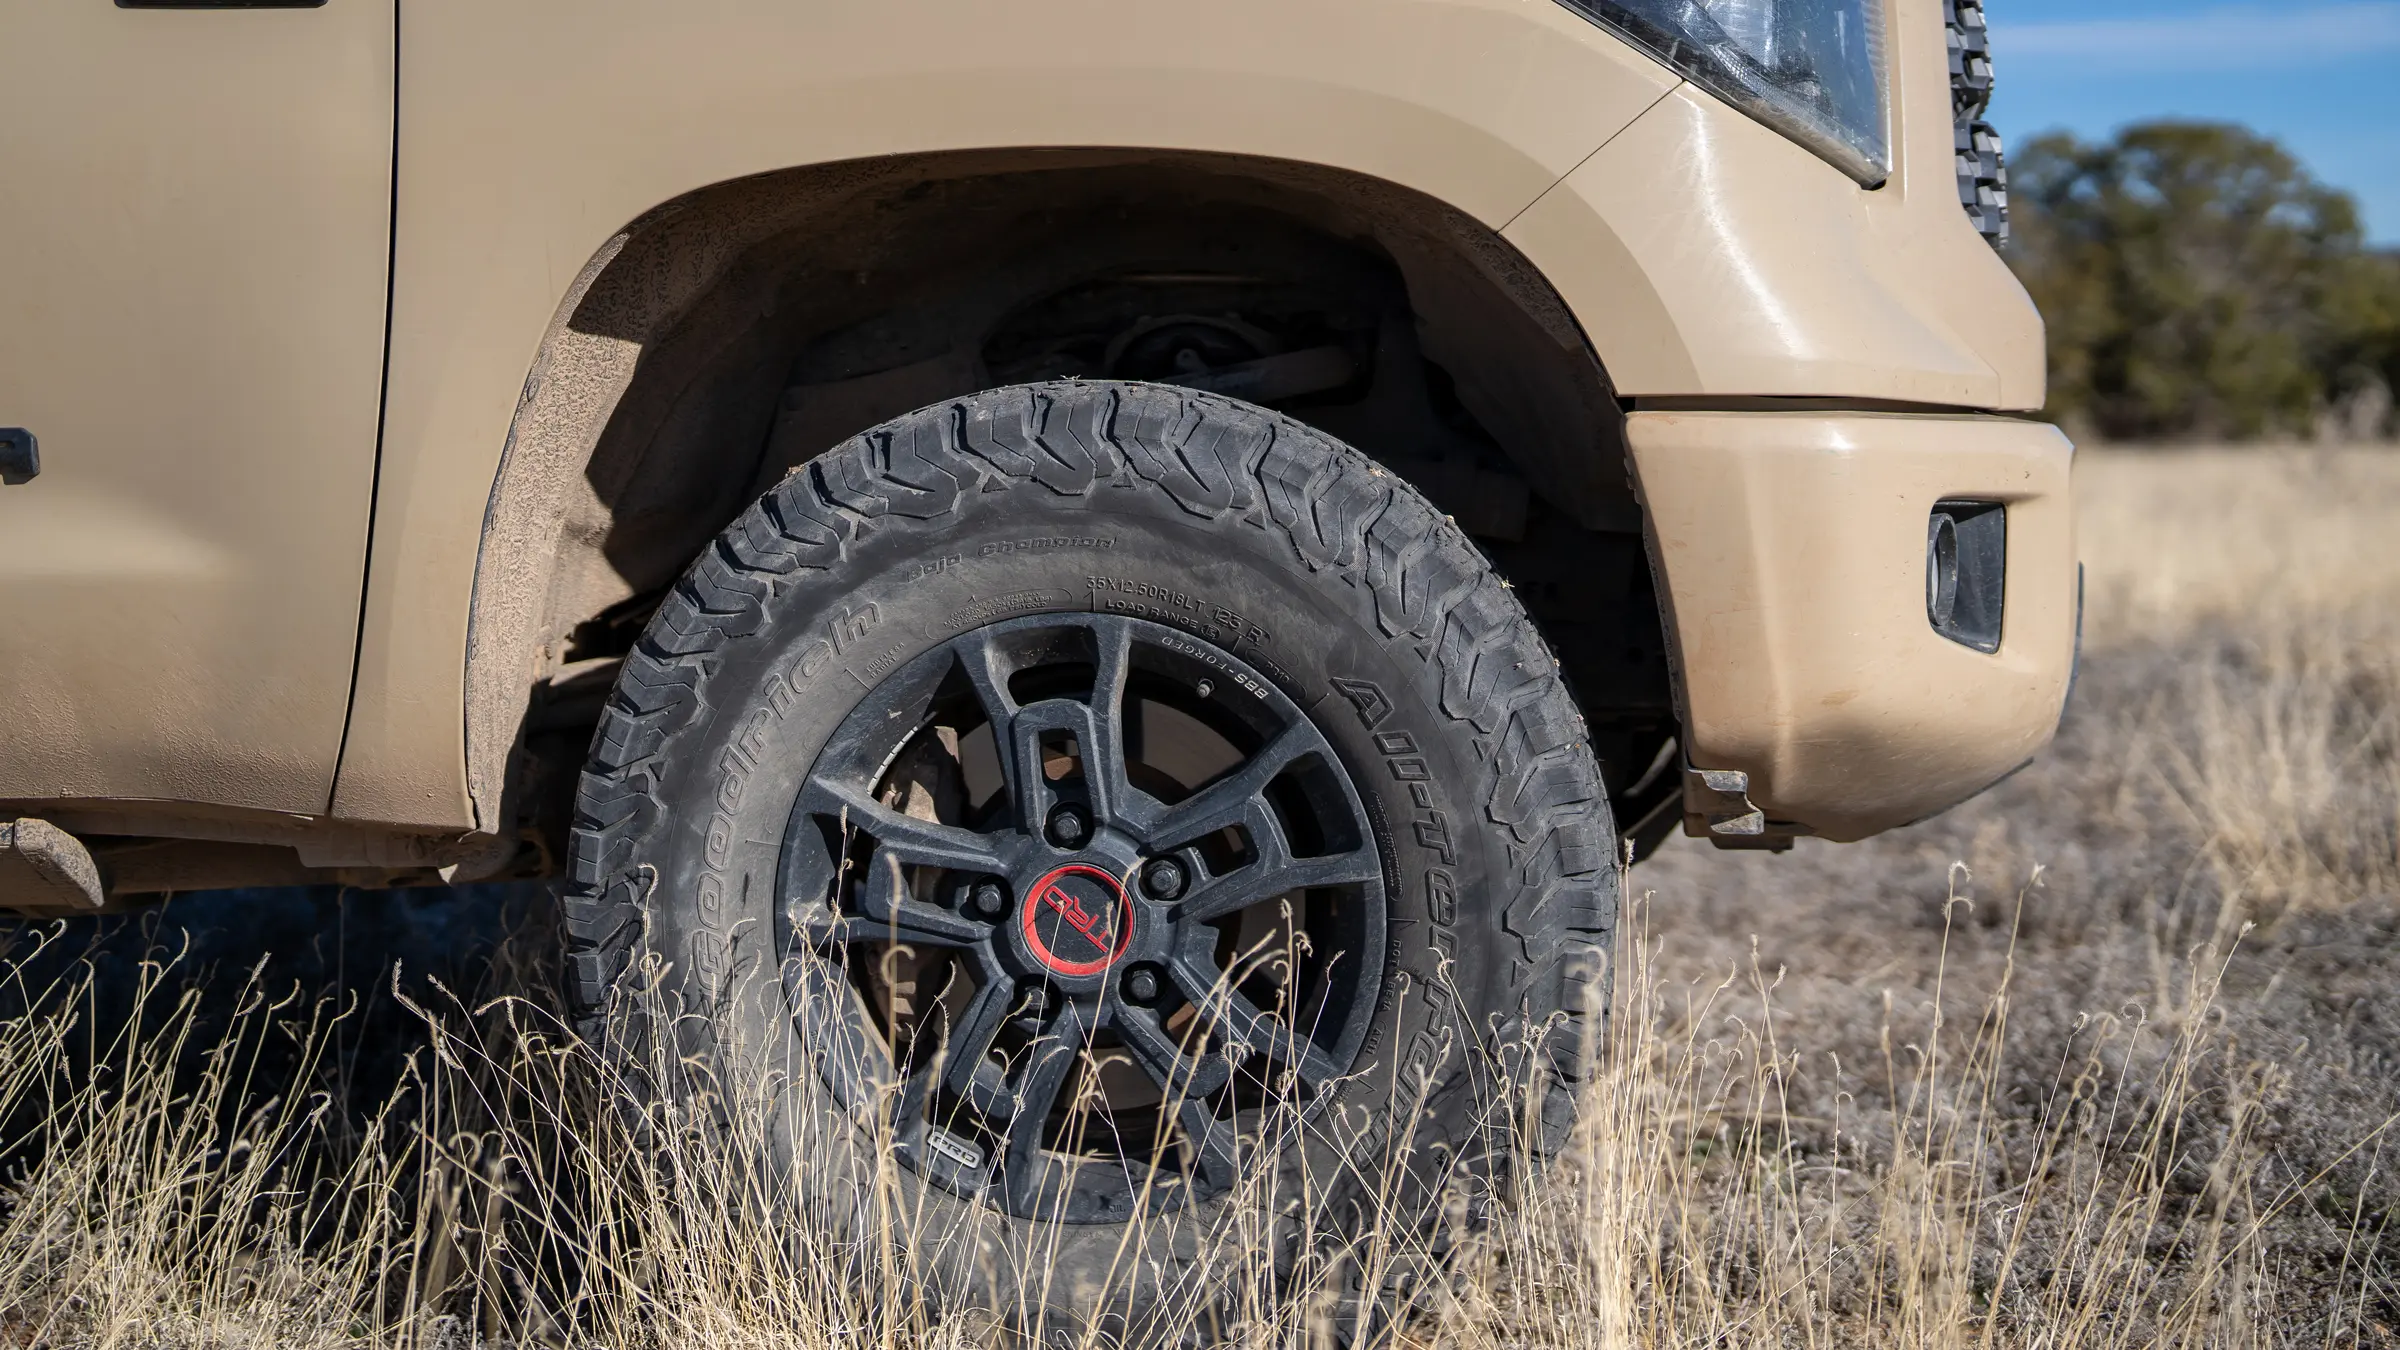
Tires — If you haven't already upgraded, your new lift height creates the clearance for a tire size your stock tires weren't using. Matching quality all-terrain or mud-terrain tires to your new setup is usually the next logical step.
Wheels — Larger tires often benefit from wheels with the correct offset for your lifted ride height. See our wheel guide for offset and backspacing considerations.
Skid plates — A lift exposes your undercarriage to terrain it wasn't designed for at stock ride height. Skid plate coverage becomes more important, not less, as lift height increases.
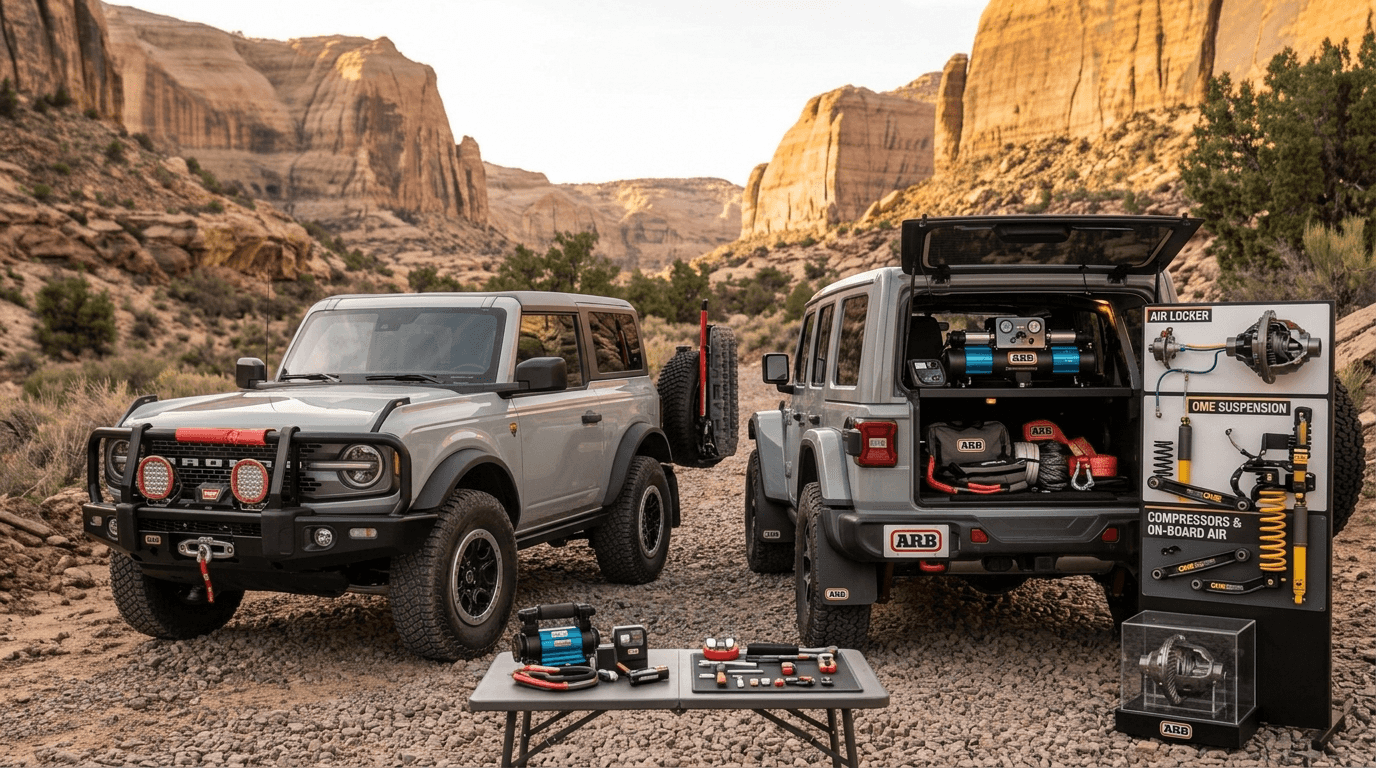
Recovery gear — A lifted, capable vehicle should be equipped with the recovery gear to match its capability. A rig that can get further into trouble needs the tools to get itself out.
Bump stops — Extended bump stops prevent the suspension from over-traveling and contacting body components at full droop. Often overlooked, frequently needed on more aggressive lifts.
Plan your build as a sequence rather than a single event — it makes the process more manageable and ensures each component works correctly with what comes next.
Common First-Lift Mistakes to Avoid
Buying the kit before consulting your installer — Kit selection should happen in conversation with your installer, not before it. Platform-specific nuances, your specific vehicle's condition, and the tire and wheel combination you're planning all affect which kit is right for your build.
Choosing lift height based on looks alone — Lift height should be driven by your tire size goals and your use case, not by what looks most aggressive in a parking lot. A 6" lift on a daily driver that never sees a trail is an expensive way to create handling and tire wear problems.
Skipping the retorque — Already covered above but worth repeating. It takes thirty minutes and catches the hardware loosening that is a normal part of component break-in. Don't skip it.
Ignoring the alignment — A lifted vehicle with a bad alignment is doing quiet, consistent damage to your tires and suspension with every mile. The alignment is not optional.
Going too aggressive too fast — The most common regret from first-time lift buyers is going bigger than their use case actually required. A 3.5" lift that matches your actual trail use is a better build than a 6" lift engineered for terrain you never visit.
What to Expect at OK4WD
Our install process starts with a consultation — not a sales pitch. We want to understand how you use your vehicle, what trails you're planning to run, what tire size you're targeting, and what your budget looks like across the full build before we recommend a kit. That conversation shapes everything that follows.
We inspect your factory components before the install begins. We walk you through what the install includes and what additional hardware your specific vehicle requires. We perform the alignment. And we bring you back for the retorque.
The brands we install — AEV, ARB/OME, BDS, FOX, Bilstein, JKS, and ReadyLIFT — are the ones we stand behind because we've seen what holds up and what doesn't after years of working on these vehicles in New Jersey and Pennsylvania conditions.
Bottom Line
Your first lift install sets the foundation for everything that follows in your build. Getting it right means choosing the correct kit for your platform and your goals, working with an installer who understands lifted vehicle geometry, completing the alignment and retorque, and planning the build sequence before you start rather than after. The lift is the beginning — not the end.
At OK4WD we've been doing first lift installs since 1979. Stop into our Stewartsville location or give us a call — we'll make sure yours goes right.
OK4WD has been building Jeeps and trucks in New Jersey since 1979. Schedule a lift consultation with our install team.
FAQs
How long does a first lift install take?
A straightforward 2.5" lift on a well-understood platform like a Wrangler JL typically runs 3–4 hours. A more complex 4" lift with geometry correction, UCA swap, and extended brake lines can take a full day. Ask your installer for a realistic time estimate before you book.
Do I need to replace my shocks when I lift?
In virtually all cases, yes. Factory shocks are designed for factory ride height — running them at a lifted height degrades ride quality and component life. Quality kits from the brands we carry include matched shocks or are designed to pair with specific shock upgrades.
Can I lift my vehicle and keep my factory tires temporarily?
Yes — though the result won't look or perform the way it will with correctly sized tires. Running factory tires on a lifted vehicle can create a gap in the wheel well that accelerates rock chip and debris damage to inner fenders. Plan to upgrade tires within a reasonable timeframe after the lift.
What's the warranty situation on a lift kit?
Brands like BDS back their products with a lifetime warranty. AEV and ARB offer strong warranty support on their components. Your installer's labor warranty varies by shop — ask before you commit. At OK4WD we stand behind our installs and address any post-install issues directly.