How to Do a Basic Pre-Trip Inspection Before Any Off-Road Run
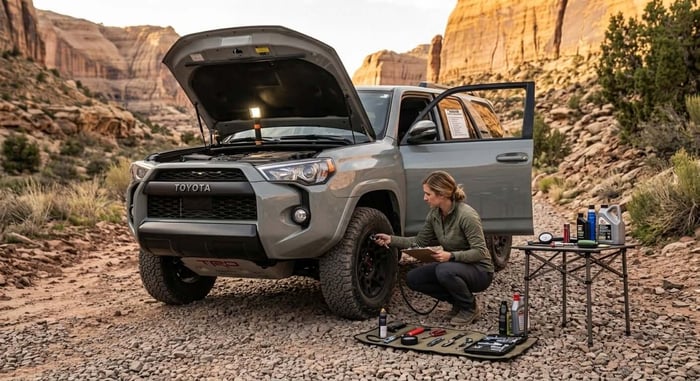
The trail is not the place to discover your brake pads are worn, your tire pressure is wrong, or your recovery gear is buried under three layers of camping equipment you can't move. A pre-trip inspection takes twenty to thirty minutes and catches the problems that turn a great trail day into a tow truck call. This guide walks you through a complete pre-trip inspection process — what to check, why it matters, and how to make it a habit before every run.
Why a Pre-Trip Inspection Matters More Off-Road Than On
On the road, a flat tire means pulling over safely and calling for help. On a trail, the same flat might mean a two-mile hike to cell service, a difficult recovery in a narrow canyon, or a situation that affects your entire group's day. The consequences of mechanical issues multiply significantly when you're far from help, on uneven terrain, and potentially hours from the nearest service facility.
Most trail problems are preventable. A systematic pre-trip inspection catches the issues that are easy to address at home and difficult to address on the trail.
The Pre-Trip Inspection Checklist
1. Tires
Tires are the most important contact point between your vehicle and the trail — and the most common source of trail problems. Check all five — four corners and your spare.
Pressure — Air down for the trail, but start from a known baseline. Check and record your street pressure before you leave so you know what to return to after the run. Inspect each tire as you check pressure — look for embedded objects, sidewall bubbling, or cracking that might indicate a problem before you're 20 miles in.
Tread depth — If your tires are approaching the wear indicator bars, the trail is going to expose that faster than street driving. Be honest about tread condition before heading out.
Spare tire condition — Check the spare's pressure and condition every time. A spare that's flat or dry-rotted is worthless when you need it. Many trail problems start with a flat tire and end with a realization that the spare wasn't ready either.
Lug nut torque — Particularly important after any recent wheel or tire work. Loose lug nuts on a rough trail is a serious problem. A torque wrench at home takes two minutes and removes the risk entirely.
2. Fluids
Low or contaminated fluids cause failures that are difficult or impossible to address on the trail. Check each one before you leave.
Engine oil — Check level and condition. Dark, thin, or milky oil is a problem that needs to be addressed before you go, not after you return.
Coolant — Check the overflow reservoir level with the engine cold. Low coolant causes overheating — and trail driving, particularly slow technical crawling, puts more thermal load on your cooling system than highway driving.
Brake fluid — Check the reservoir level. Low brake fluid can indicate a leak in the system — find it before you're descending a steep trail.
Power steering fluid — Low PSF causes steering difficulty at low speeds and full lock — exactly the conditions you'll encounter on the trail.
Differential and transfer case fluid — Less frequent checks but important before any significant trail use. If you've recently done a water crossing or driven in particularly deep mud, check for milky fluid that indicates water contamination.
Windshield washer fluid — Minor in the context of mechanical preparedness but surprisingly important on dusty trails where visibility matters.
3. Brakes
Trail driving puts different demands on brakes than street driving — prolonged downhill grades, repeated hard stops on rocky descents, and the need for precise brake modulation during technical sections.
Pad thickness — If you can see your rotors through the wheel spokes, inspect visually for pad thickness. Thin pads on a technical downhill descent are a serious safety issue.
Brake feel — With the engine running and the vehicle stationary, press the brake pedal firmly. It should feel solid and consistent, not spongy or soft. A soft pedal indicates air in the brake lines or a fluid leak — both need to be addressed before driving off-road.
Parking brake — Test it. On steep trail situations, a functioning parking brake is important for safety when working around the vehicle or making a controlled stop on a grade.
4. Suspension and Steering
Trail driving puts real stress on suspension components — more articulation, more impact, more load than regular driving. A quick visual inspection before you go catches problems before they become trail failures.
Visual inspection under the vehicle — Look for obviously bent, cracked, or damaged components. Check control arm mounts, track bar ends, and tie rod ends for visible play or damage. If anything looks wrong, get it checked by a professional before heading out.
Steering feel — With the vehicle running, turn the wheel lock to lock slowly. Note any grinding, binding, or unusual resistance. These symptoms on the street become significantly worse on the trail.
Shock absorbers — Look for oil weeping from shock bodies, which indicates a seal failure. A blown shock on a trail significantly degrades handling and control.
Lift kit hardware — If your vehicle is lifted, inspect the key fasteners — track bar bolts, control arm bolts, and skid plate hardware — particularly if it's been a while since your last thorough inspection. Trail vibration loosens hardware over time.
5. Lights and Electrical
Headlights, tail lights, and brake lights — Walk around the vehicle with a helper to confirm all lights are functional. Trail driving often extends into low-light conditions, and brake lights matter for the group behind you on a trail run.
Auxiliary lighting — If your build includes a light bar or driving lights, confirm they're functioning and aimed correctly before you leave. A light bar aimed directly into the eyes of a spotter ahead of you on the trail is a safety hazard.
Battery condition — If your battery is more than three to four years old or has been showing signs of weakness — slow starts, warning lights — get it tested before a trail run. A dead battery in a remote location is a difficult situation, particularly if you don't have a jump pack on board.
Jump pack — Speaking of which — carry one. A quality compact lithium jump pack takes up almost no space and has saved countless trail days.
6. Recovery Gear — Staged and Accessible
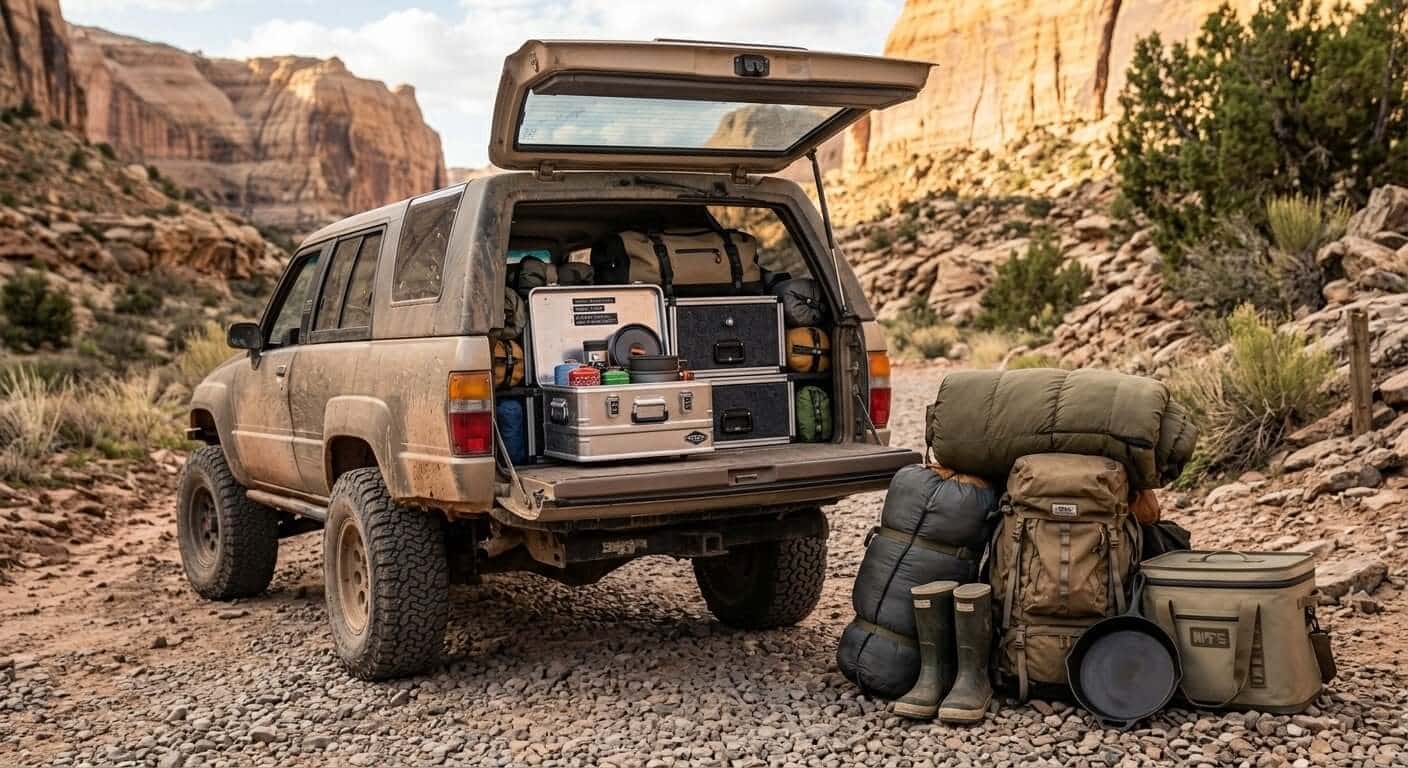
Your recovery gear needs to be accessible in the order you're likely to need it. A kinetic strap buried under a week's worth of camping equipment isn't useful when you're stuck.
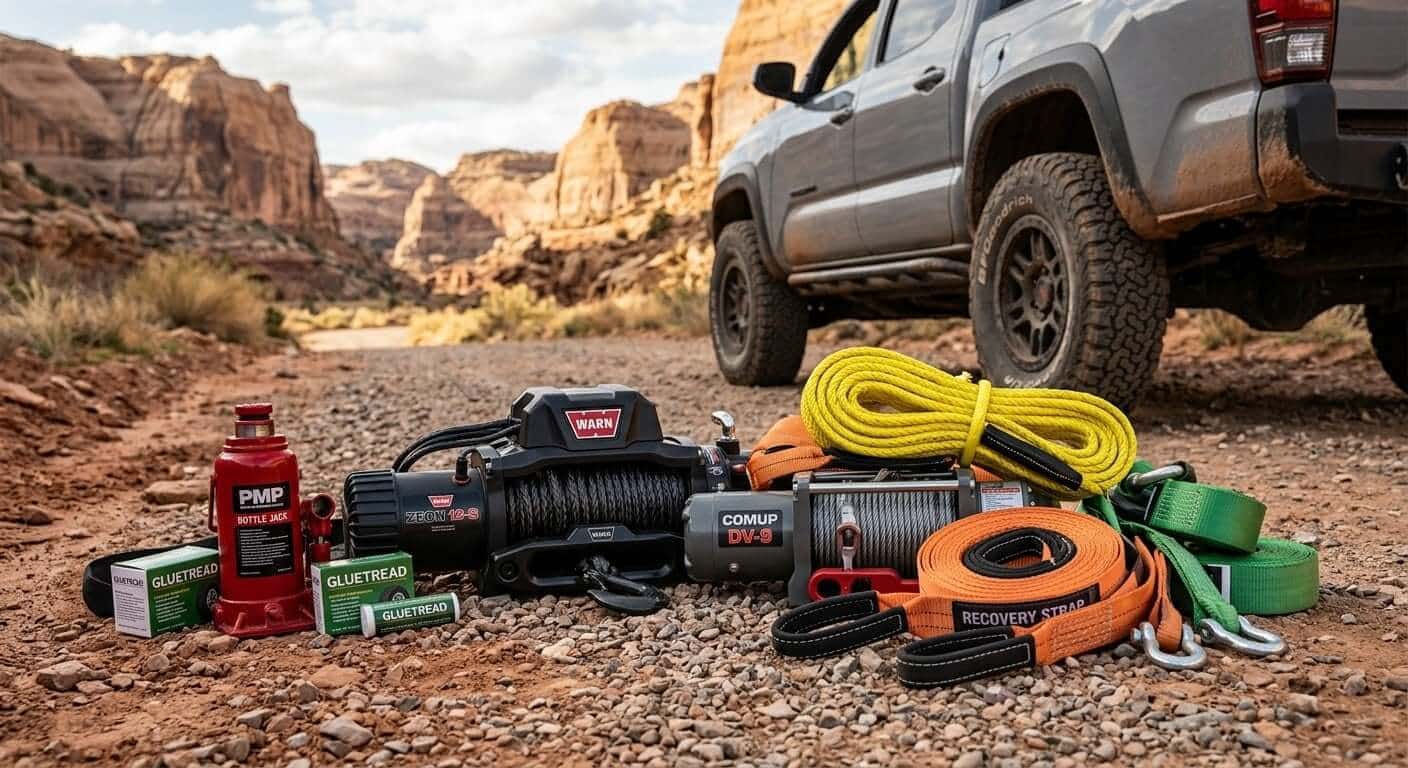
Check your kit is complete — Strap, shackles, traction boards, jack, tire repair. Confirm everything is present before you leave, not when you need it.
Stage for accessibility — Traction boards and recovery straps should be reachable without unpacking the entire vehicle. A strap in a dedicated exterior mount or at the top of the load is significantly more useful than one at the bottom of a packed cargo area.
Confirm your Garmin inReach is charged and active — If you carry a satellite communicator — and you should — confirm it's charged, your subscription is active, and your emergency contacts are current before you leave cell coverage.
7. Vehicle-Specific Checks
Every platform has its own list of known issues worth checking before a trail run. A few common ones:
Jeep Wrangler — Check the front and rear differential vent tubes — they can become clogged with mud after deep crossings and cause seal failure. Inspect the skid plate hardware after any rocky trail use.
Toyota Tacoma — Check the front differential drain plug, which is known to back out on some model years. Inspect the rear leaf spring U-bolts for looseness.
Ford F-150 — Check the IFS components for wear, particularly if the truck is lifted. Inspect the front differential skid plate hardware.
Ford Bronco — Check the front axle disconnect system on non-Sasquatch models if you've been running in 4WD extensively.
8. Communication and Navigation
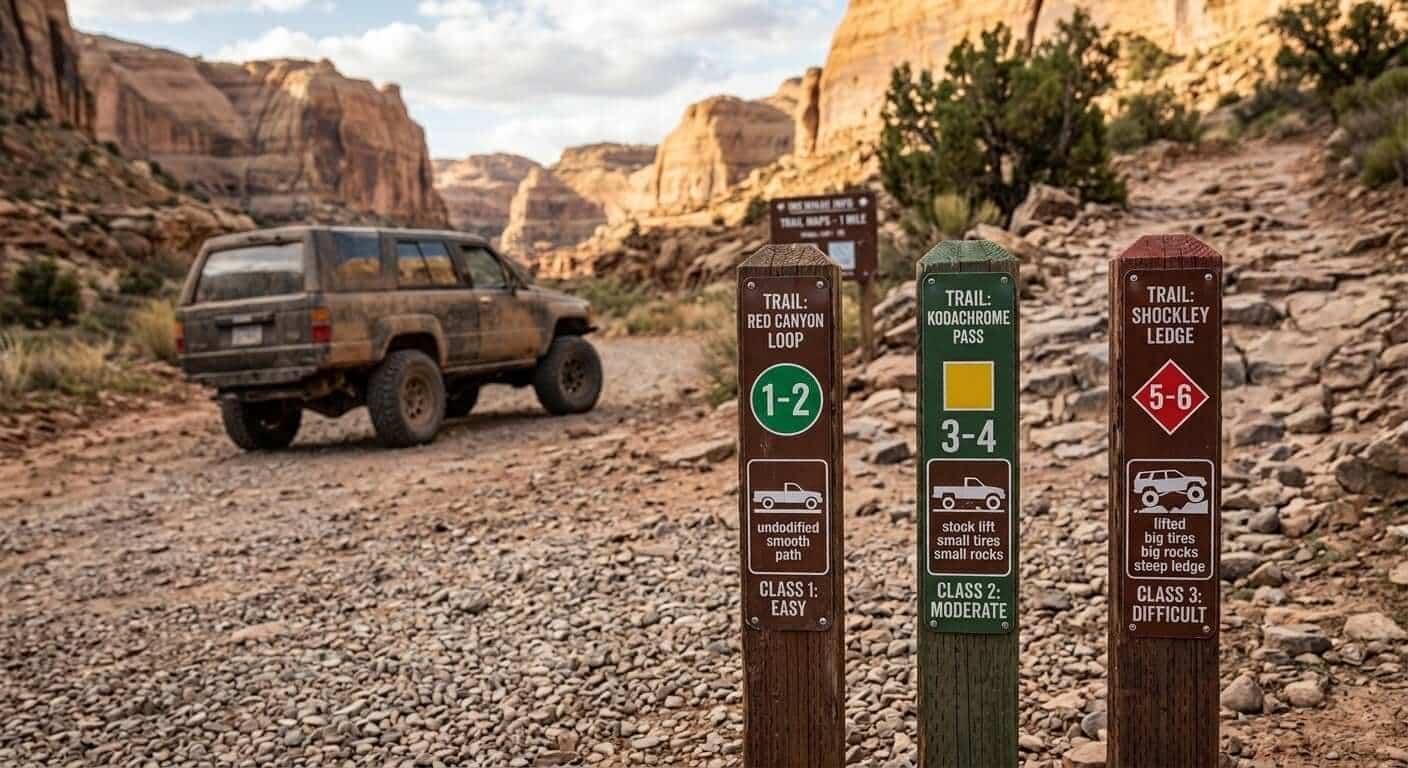
Download offline maps — Confirm your trail route and surrounding area are downloaded in Gaia GPS or OnX Offroad before you leave. Don't rely on live data in areas without cell coverage.
Charge all devices — Phone, GPS device, inReach, dash cam. Leave with everything at 100%.
Share your plan — Tell someone not on the trip where you're going, which trail you're running, and when you expect to return. This is the most basic safety habit in off-road driving and the most commonly skipped.
The 30-Minute Pre-Trip Routine
| Check | Time Required |
|---|---|
| Tires (all five) | 5 minutes |
| Fluids (all) | 5 minutes |
| Brakes | 3 minutes |
| Suspension and steering visual | 5 minutes |
| Lights and electrical | 3 minutes |
| Recovery gear staging | 5 minutes |
| Communication and navigation | 4 minutes |
| Total | ~30 minutes |
Thirty minutes at home is significantly less painful than three hours waiting for a tow on the trail.
Bottom Line
A pre-trip inspection is the most unsexy part of off-road preparation and the most important. Tires, fluids, brakes, suspension, lights, recovery gear, and communication — thirty minutes through this list before every run is the habit that keeps trail days on the trail and out of the recovery zone.
At OK4WD our service team performs pre-season vehicle inspections and can identify issues specific to your platform and build before they become trail problems. Stop into our Stewartsville location or give us a call before your next run.
OK4WD has been building and maintaining trail-ready Jeeps and trucks since 1979. Schedule a pre-season inspection with our service team.
FAQs
Do I need to do a full inspection before every trail run?
Yes — at minimum the high-priority items: tires, fluids, brakes, and recovery gear staging. A full inspection before every run is ideal. Think of it the same way a pilot thinks about a pre-flight checklist — the consequence of skipping it is not abstract.
What's the most commonly missed pre-trip check?
Spare tire pressure and condition. Most drivers check their four mounted tires and forget the spare entirely — until they need it.
Should I check under the vehicle after a trail run too?
Absolutely. A post-trail inspection catches damage, loose hardware, and fluid leaks while they're still easy to address — before the next run makes them worse.
What if I find something wrong during the inspection?
Address it before you go. A trail run with a known mechanical issue is how minor problems become major ones. If you find something you're not sure how to assess, bring it to a professional before heading out.